Fighting City Hall, Part 2
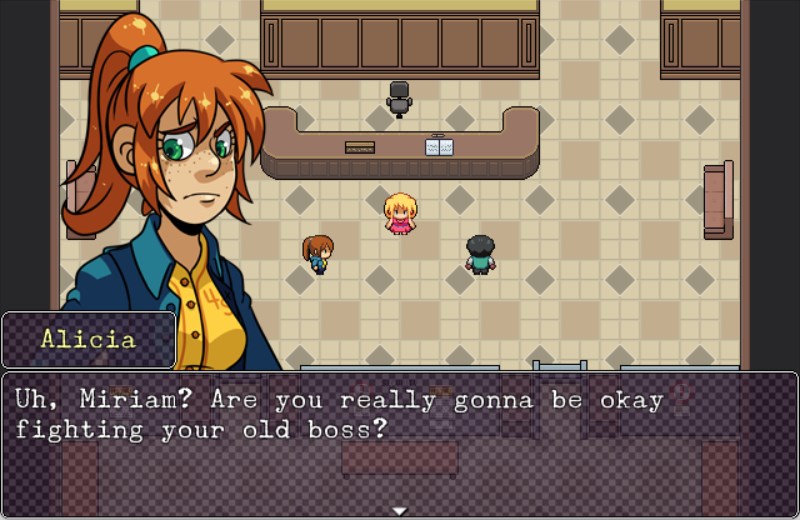
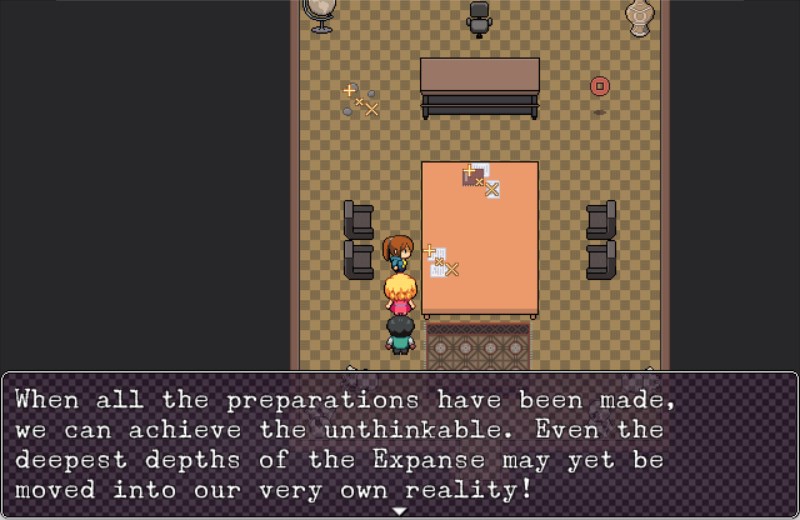
Where we last left our heroes, they were just about to storm City Hall to rescue Dottie from the mayor, who, unbeknownst to them, has been possessed by one of the Inner Evocations.
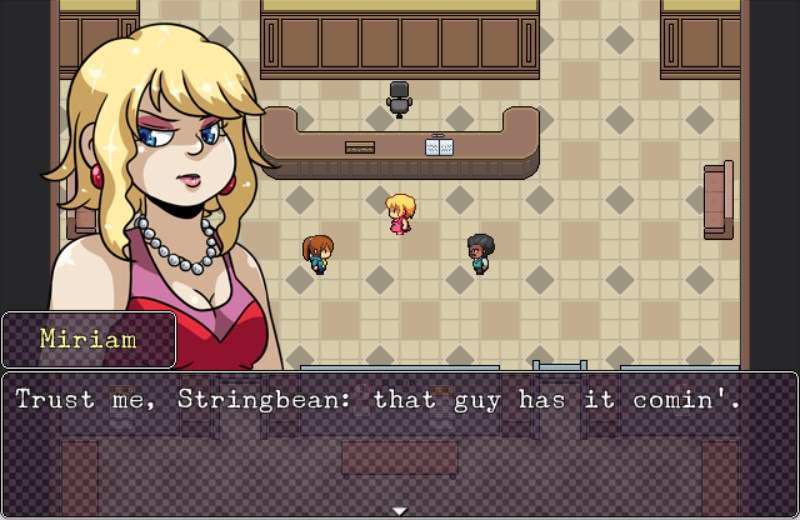
Obviously, the mission is far more personal in Miriam's case.
Right when we get in, we see two familiar faces...
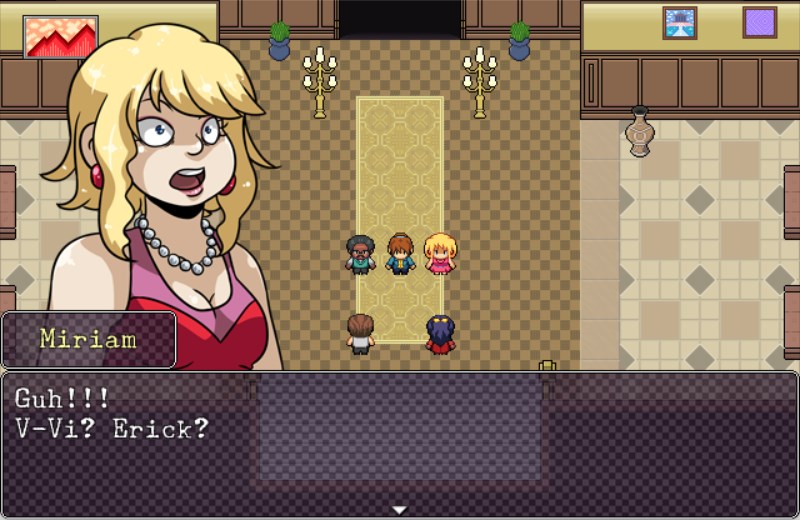
Yes, it's them. Those two guys who died in the sewers not too long ago.
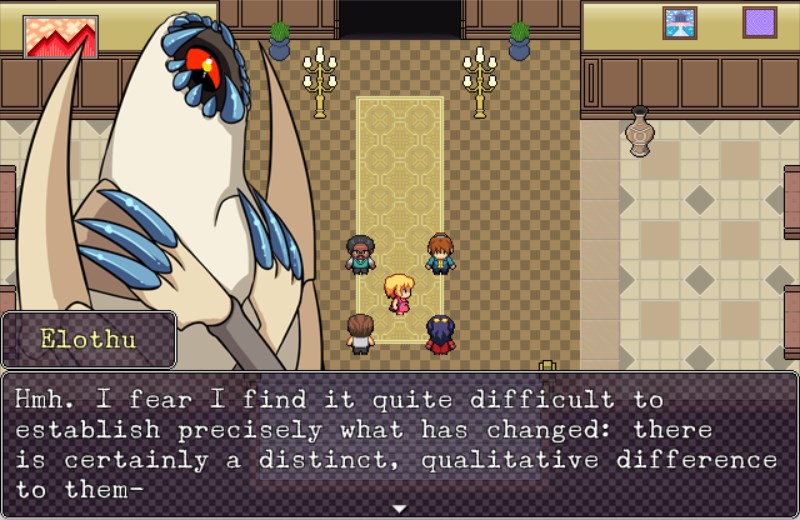
They're zombies, Elothu. Are you unfamiliar with the concept?
Still, despite this, their presence is certainly welcome.

All of the enemies we fight in this area were once the mayor's employees, that, unlike Miriam, are still loyal to him
Removing Daybreak from reality was only the first step. The Inner Evocations . Now, keep on mind what we've learned so far from Zlonyth. The Inner Evocations used to live peacefully in the Expanse beside their mother Xelanyel, until she was attacked and killed by an invader.
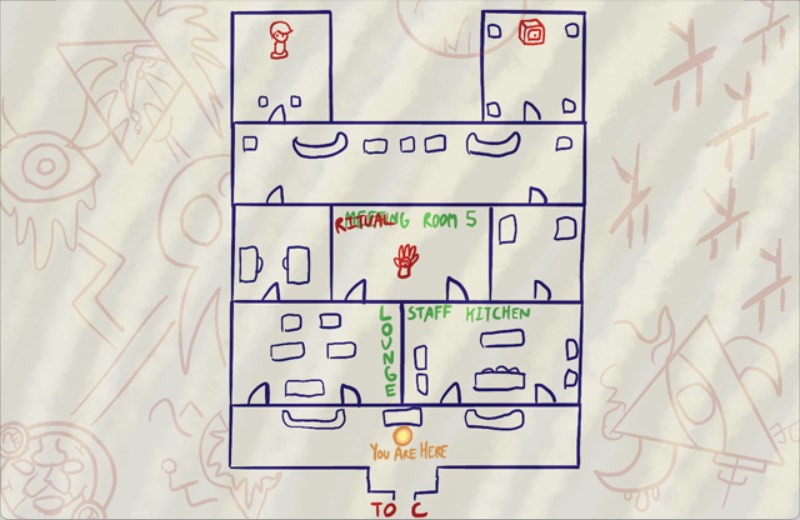
Here we have a mostly useless map. On a side note, I don't remember most of these maps being there in my first playthrough.
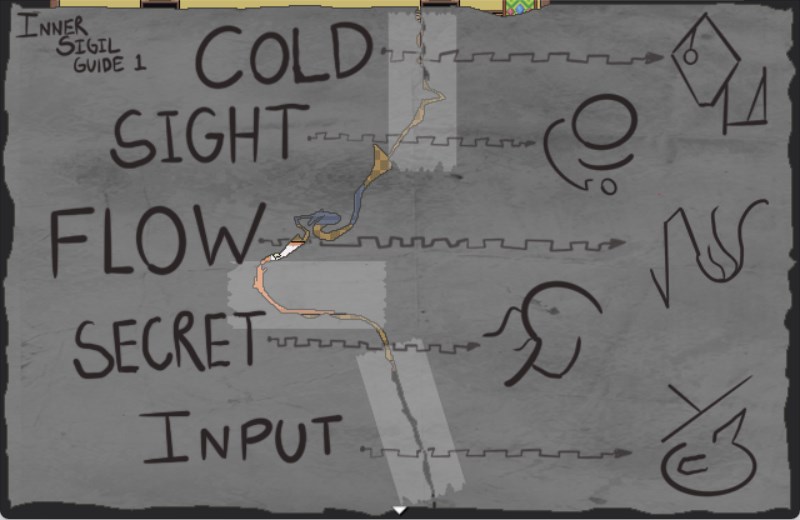
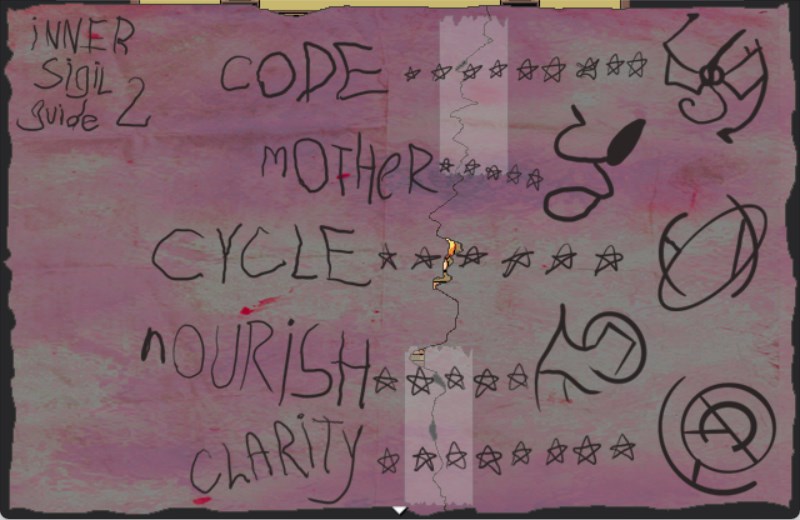
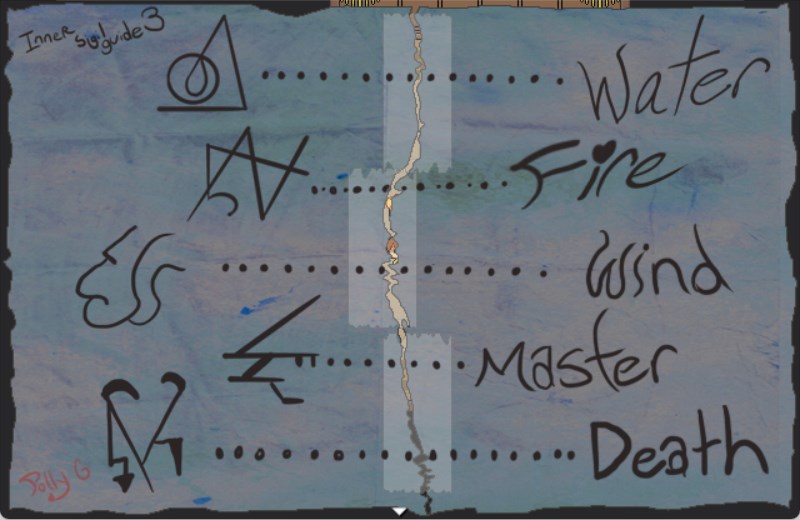
Going through all the rooms in this map eventually leads us to these three notes containing glyphs that are apparently used by the Inner Evocations. Or maybe they're used by the cult to communicate with them, I'm not exactly sure.
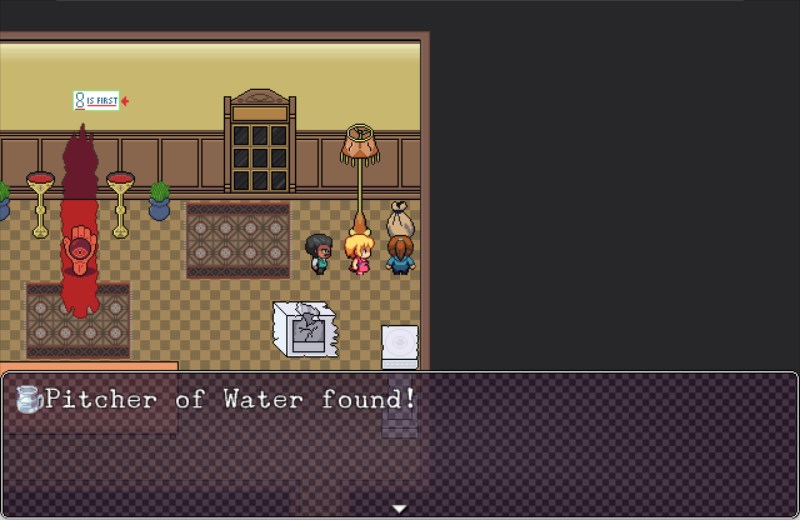
You pick up four different random items in this area, a pitcher of water, a fan, a magnifying glass, and a bust of the mayor.
As anyone could have guessed, they're used for a puzzle needed to progress through the dungeon. It's a simple matter of choosing which key item to offer up to the pedestals.
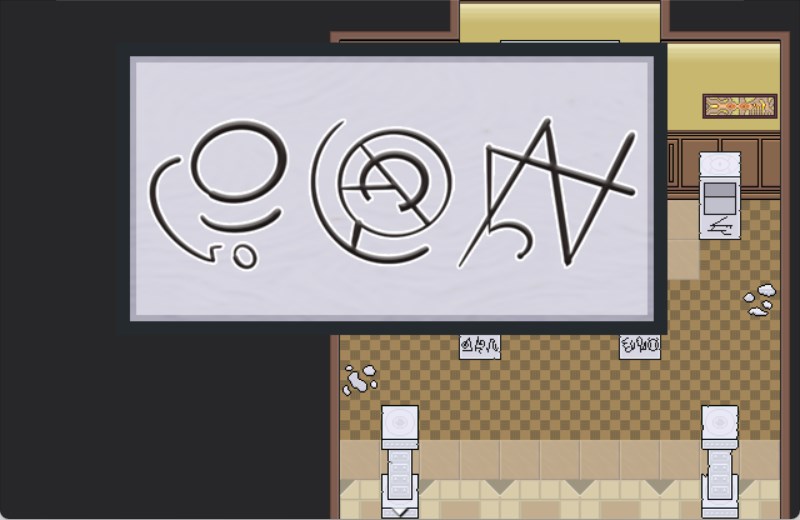
These glyphs translate to sight, clarity, fire. Use the magnifying glass.
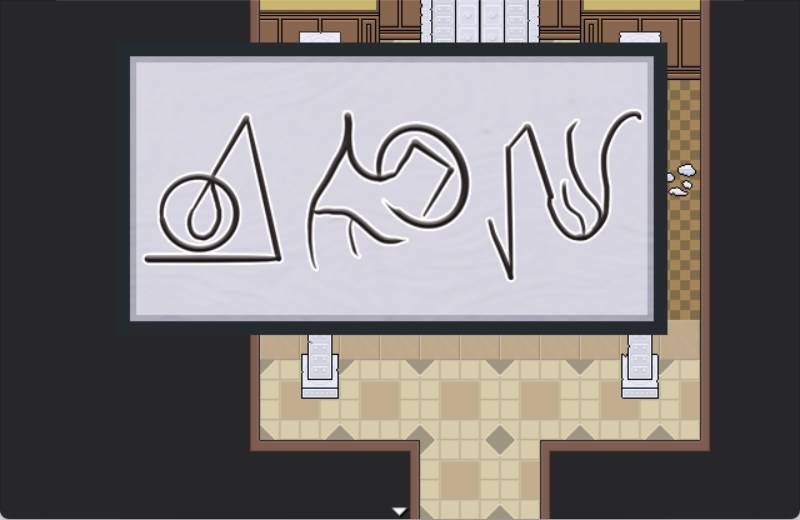
Water, nourish, flow. The pitcher of water.
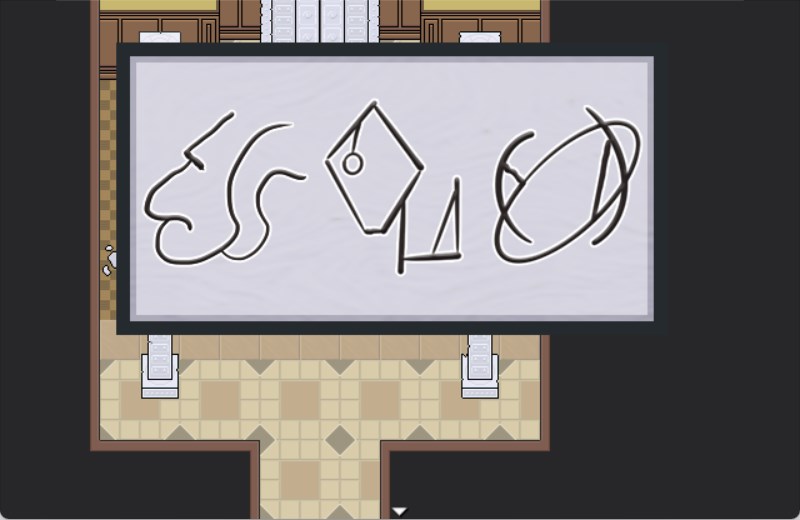
Wind, cold, cycle. The ceiling fan.
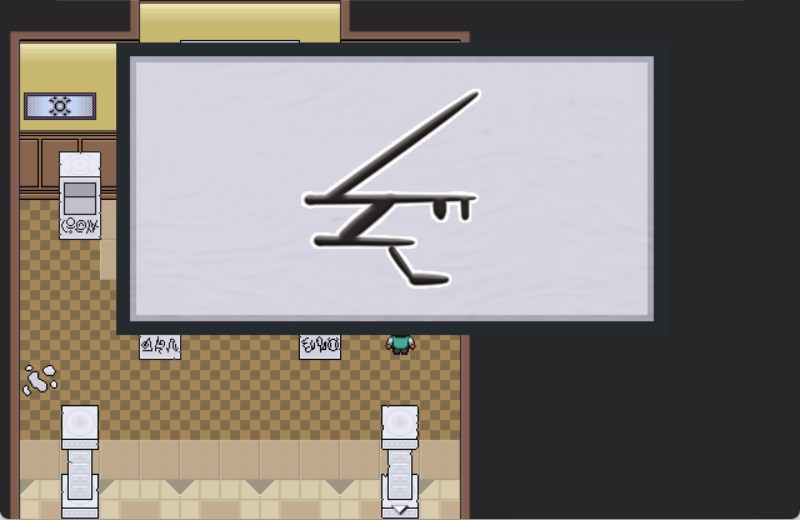
Last one, "master." Obviously, you use the statue of the mayor.
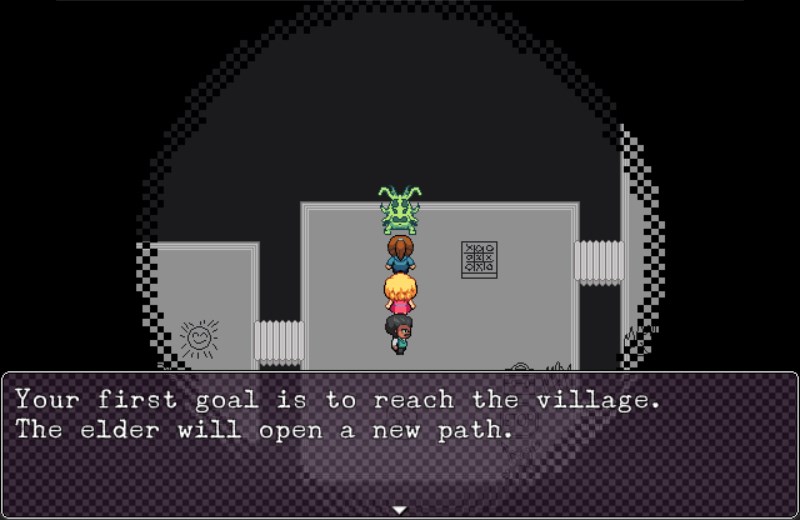
This Fool's Space is the most expansive and visually distinct one we've seen so far, divided into distinct sub-areas. First there's this place consisting of these platforms connected by bridges over a black void, where the objects are represented by abstract graphics. You are told that this is the path to a village, and that you should talk to its elder to progress.
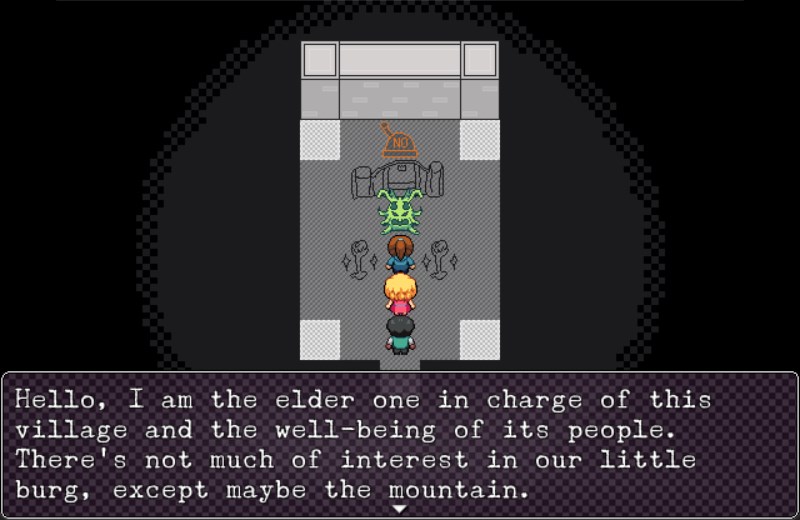

Doing so gives you access to the second sub-area, a mountain that, unlike the previous area, looks like what it's supposed to represent, rather than a bunch of disconnected shapes.
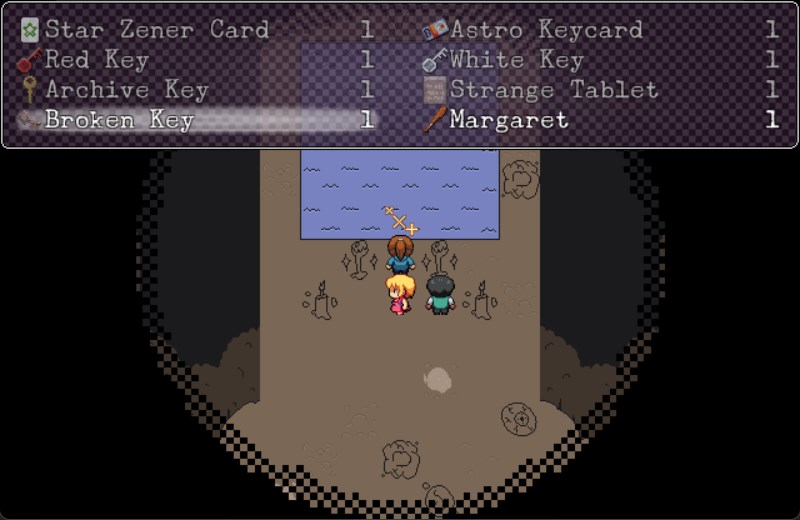
There you can find a cave with a fountain where you can through either of two items: a broken key you found on the way, or Alicia's starting weapon.
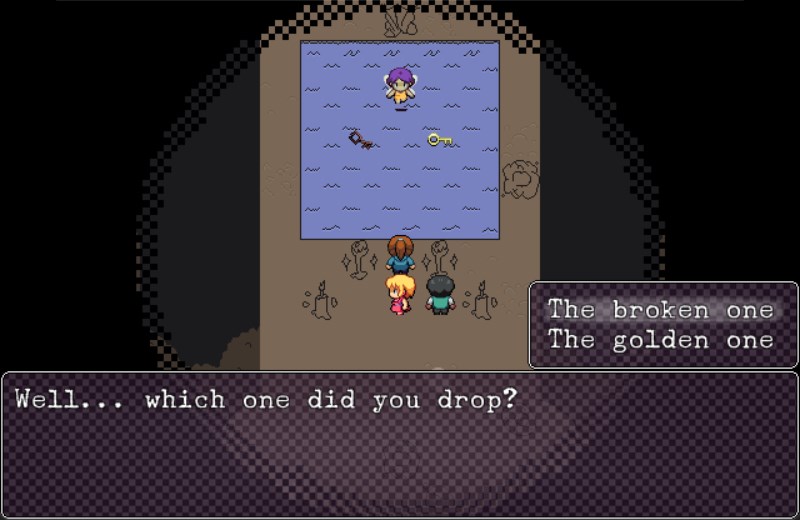
If you're the least bit familiar with Aesop, you should already know what the right answer is.
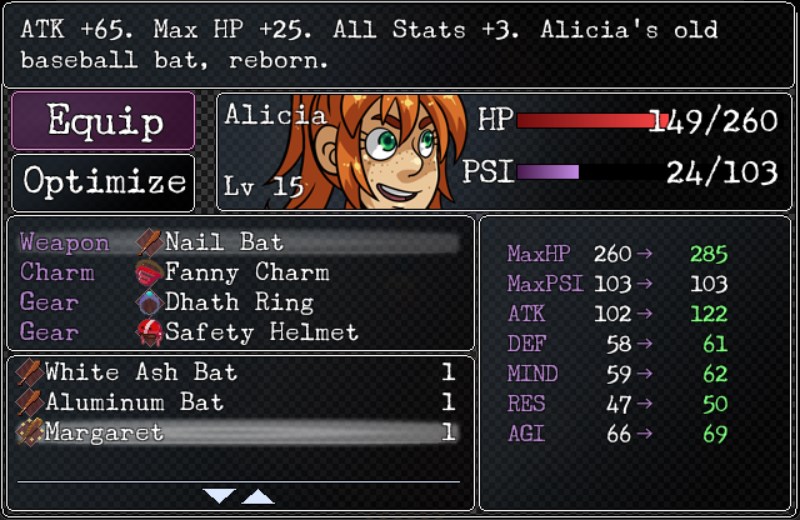
Doing the same thing with the weapon, on the other hand, grants you one the most powerful weapon in the game so far.
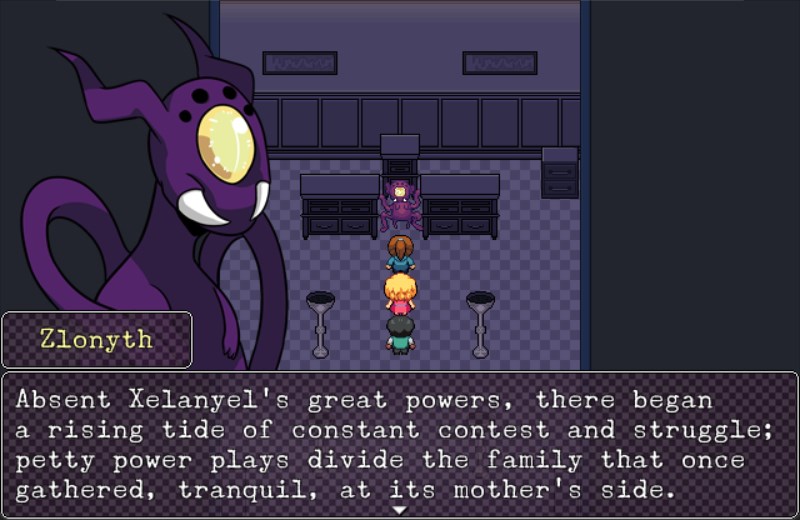
There was some kind of political power struggle in the wake of Xelanyel's death.
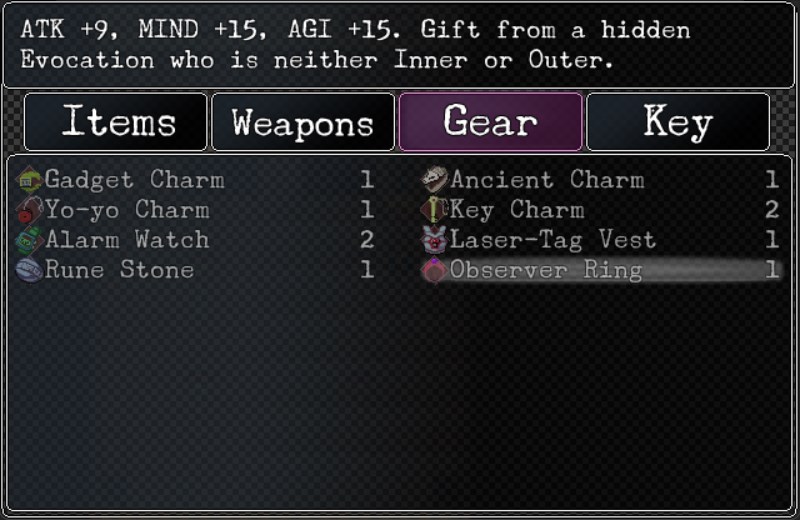
For listening to all of Zlonyth's prattle about his family situation, we're rewarded with a fancy ring enhanced with eldritch power.
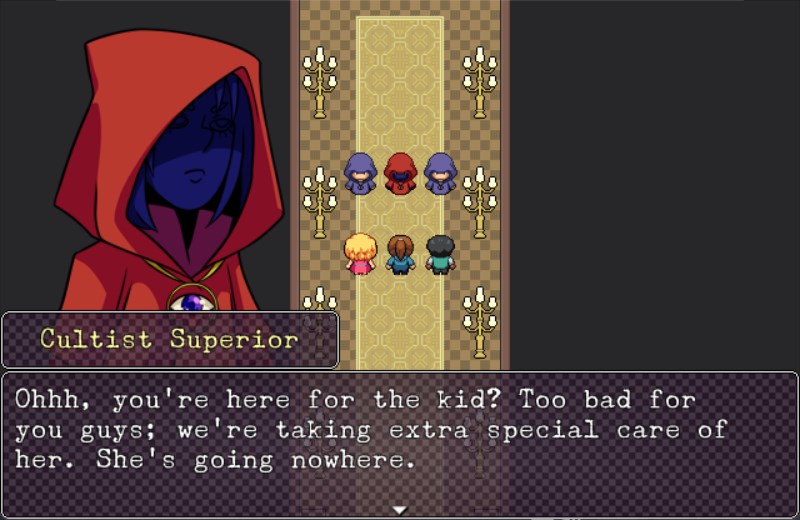
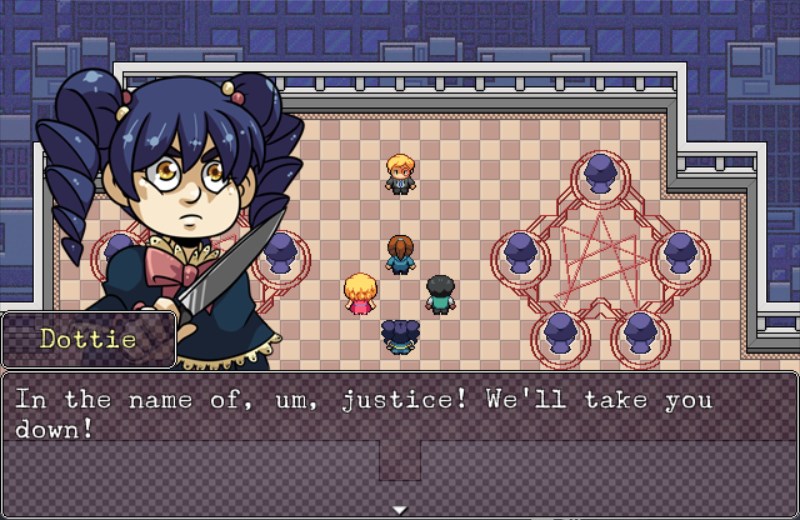
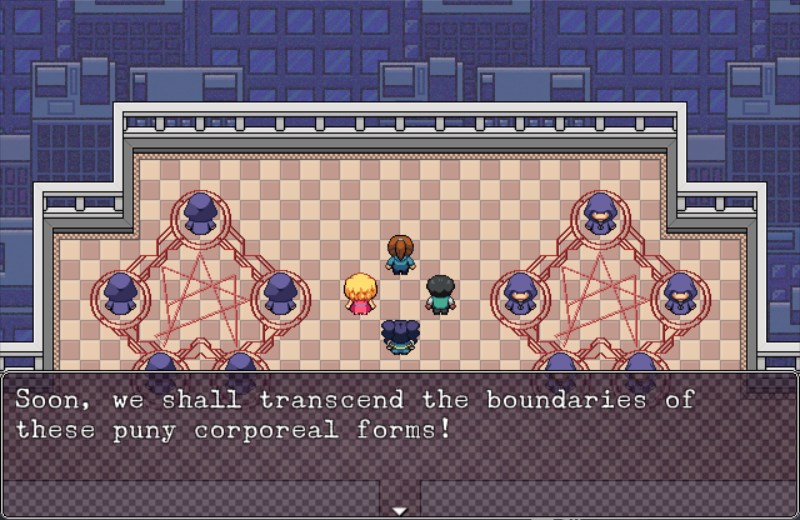
Time to deal with the mayor's prime lackey, the leader of the cult worshipping the Evocations.
She's accompanied by two "Mostly Metamorphosed" cultists (which notably have different enemy types, and thus different weaknesses) that support her with physical attacks and buffs, while she herself cycles between three different attacks; a single target Terror attack, a multi-hit attack, and a multi-target Sorrow attack.
It's nothing too threatening, and all three of them go down in short order.
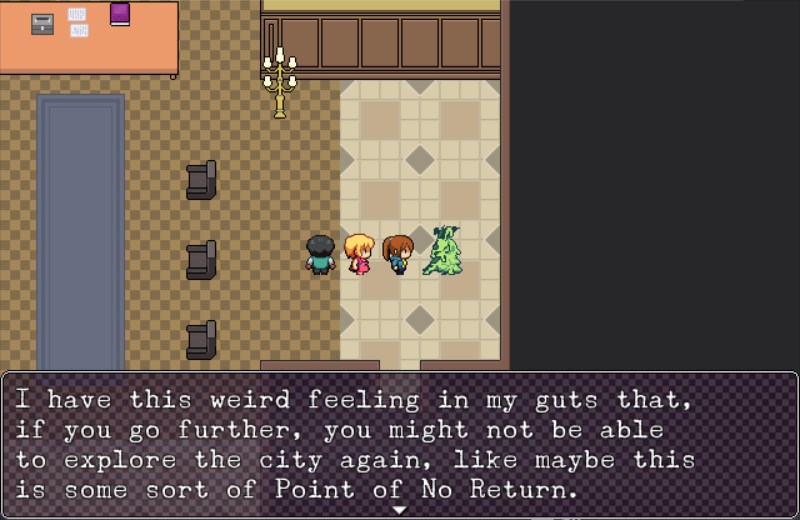
Right up ahead, we have someone who tells us point blank that past this point is the point of no return. Now that I think about it, there was something that I was meaning to do.
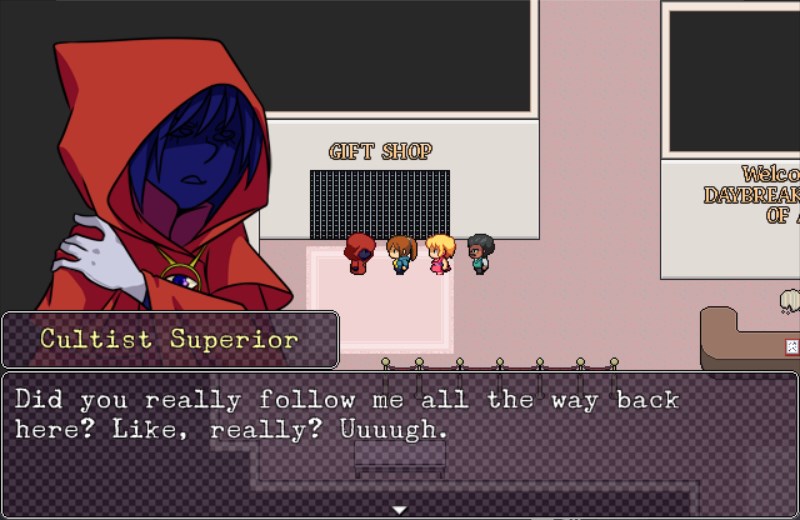
You can run all the way out of city hall and back to the museum to catch up with her.
The Steam version even gives you an achievement for doing this..
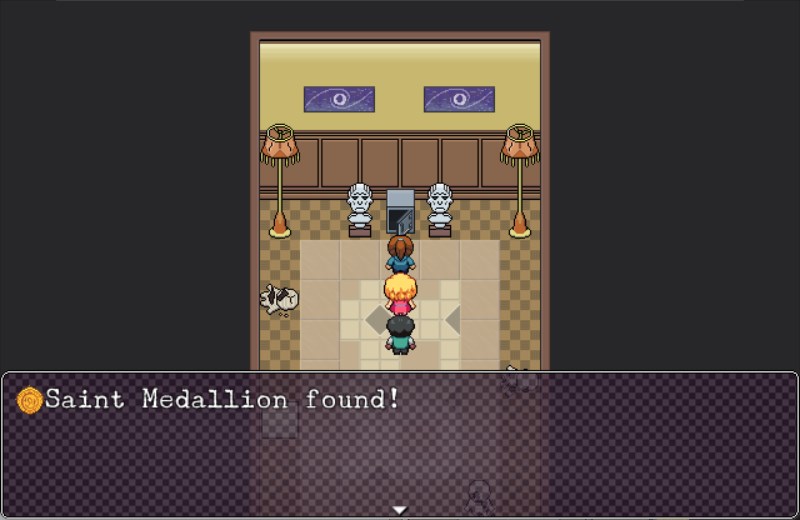
Also, there's this locked safe that requires a code to open. You have to find clues that are literally written on the walls in order to learn the code. Your reward is the Saint's Medallion, which boost all stats and guards against some of the more uncommon status effects.
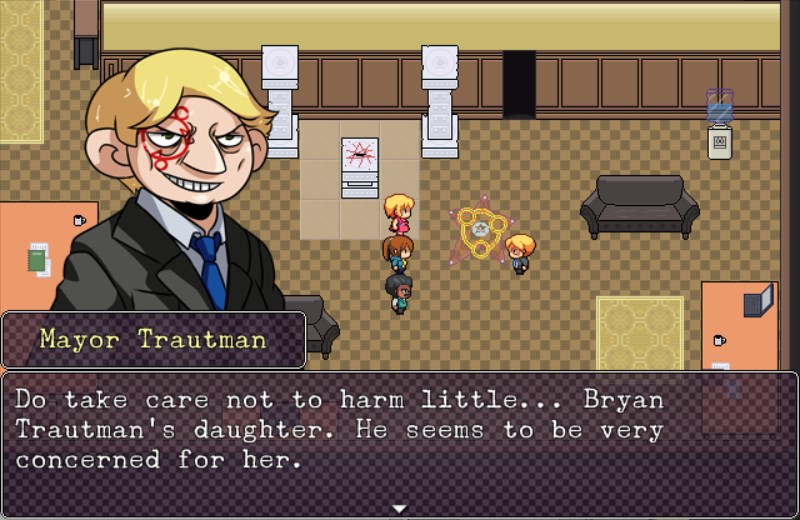
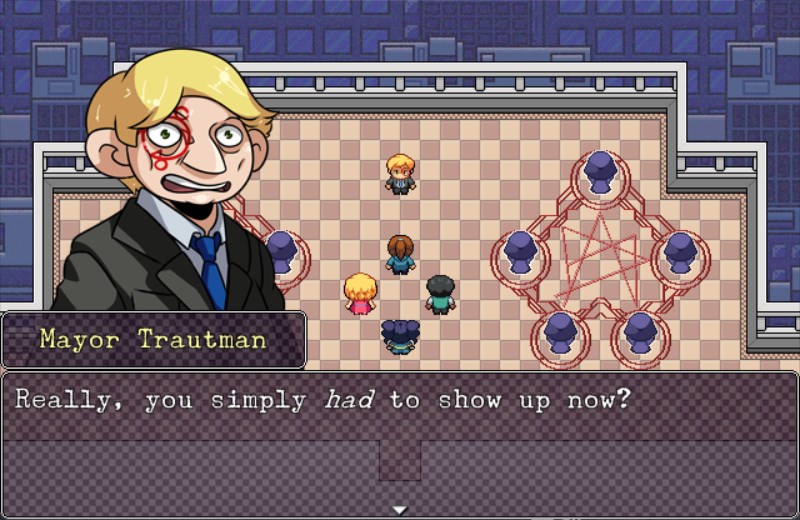
Strangely, he doesn't seem to be interested in stopping you. He does need the girl alive, after all.
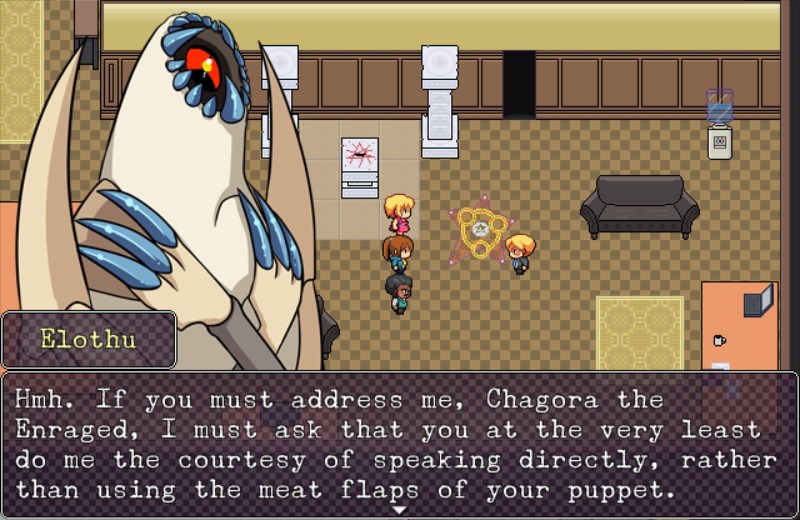
Elothu immediately recognizes his wayward sibling, even in his human fleshsuit.
And with that comes the player's second visit to the Playroom.
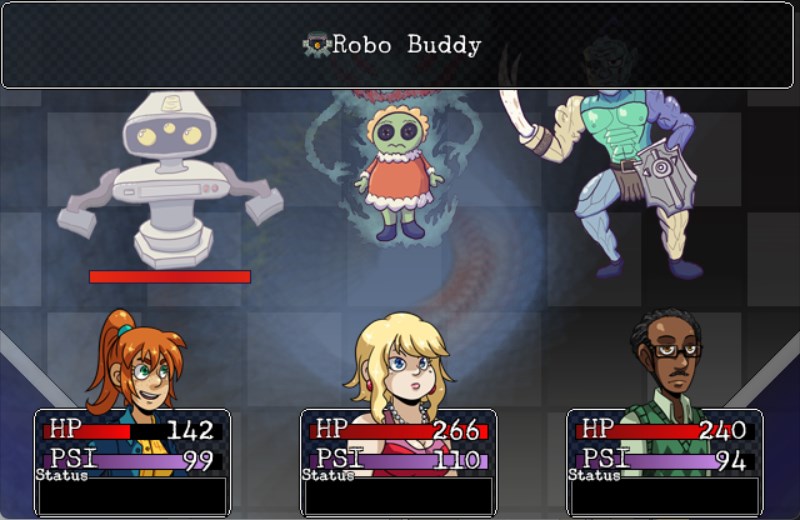
A higher-leveled party means new enemies, such as this off-brand ROB.
Really now? Did you really think that this would keep the copyright hounds away? All you did was change one word!
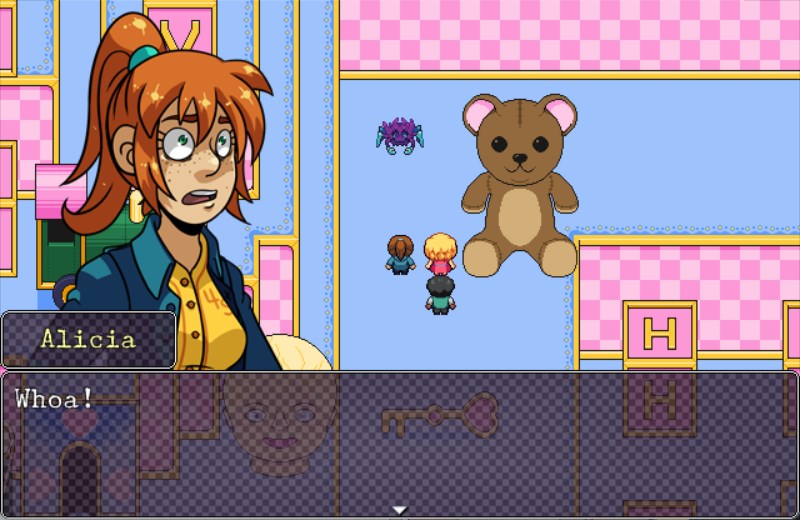
Remember that spider crab thing that ? Remember how it seemed to be getting more aggressive over time? Well, she's been left alone for far too long, and now this is the result.
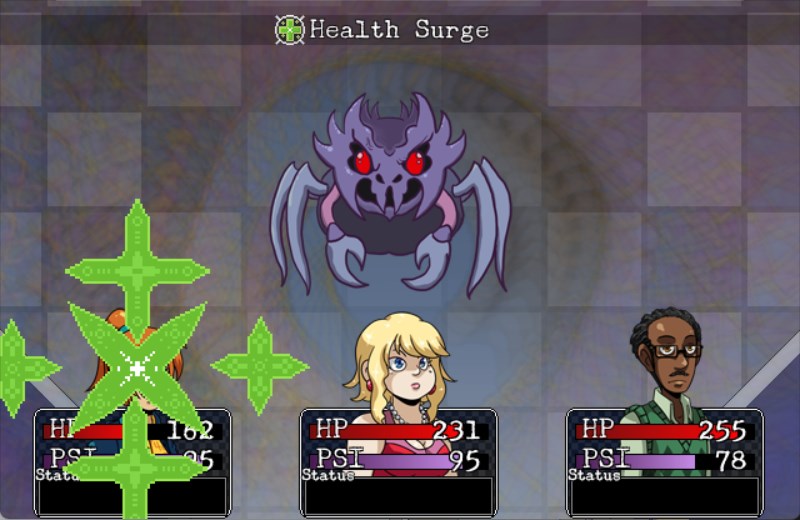
You can murder her right then and there, but waiting results in something rather unexpected.

That creature possessing the mayor did tell us not to hurt his daughter, and all we did was honor his request. There's no way that he could have accounted for the other creatures that make this place their home.
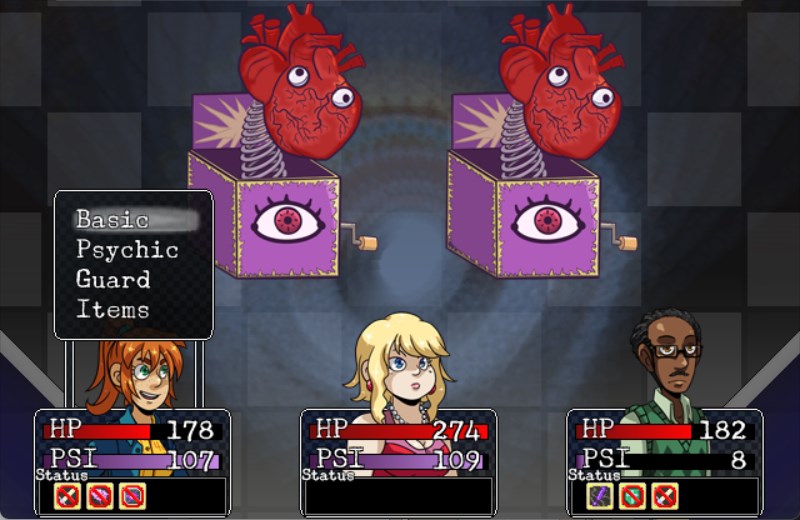
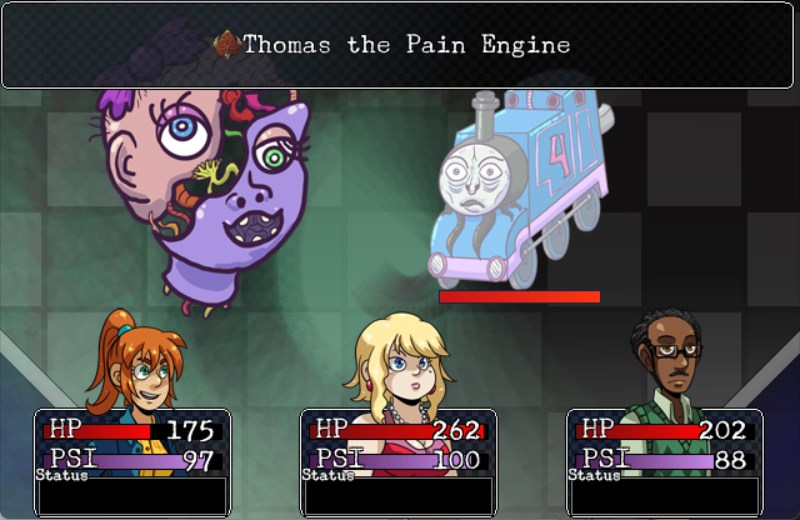
These two jack-in-the-box enemies can stun your party with a jumpscare. I'm pretty sure they can rather easily stunlock your party if you're not careful.
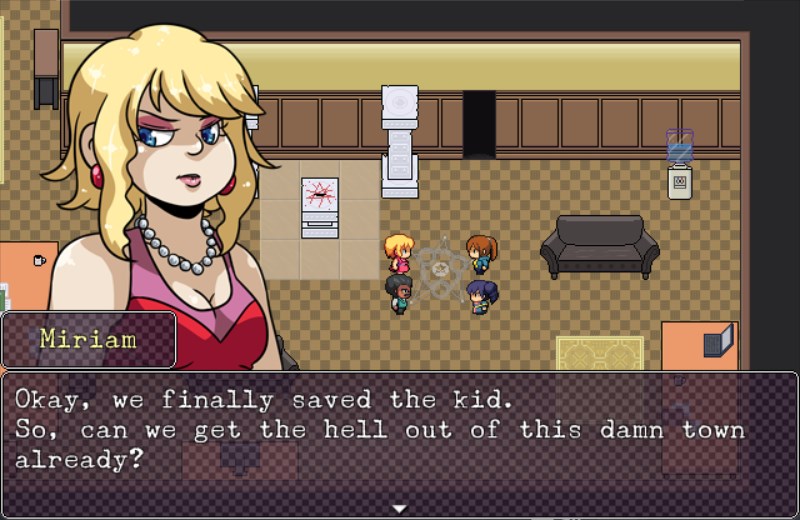
At long last, after around ten hours of gameplay, at least half of which was spent trudging through snow, Alicia and her niece are reunited.
But there's no time to celebrate just yet. The Blood Moon Butcher has come back to collect his
This is the very first battle we fight with a full party, and its main purpose is to show off our new party member's power. After tanking his attacks for a couple turns, Dottie suddenly steps in and nigh effortlessly breaks his monstrous guise, reverting him to a rather feeble human. Of course, even in his human form, he still hits pretty hard with that knife of his, so don't get too careless. He tries to revert to his butcher form, but it's too little, too late; he goes down the very next turn.
One escape route later...
Just because we've rescued Dottie doen't mean we can rest easy now. The Inner Evocations are still a threat, and now that we know what they plan on doing to the town, we can't just leave them to do as they please.
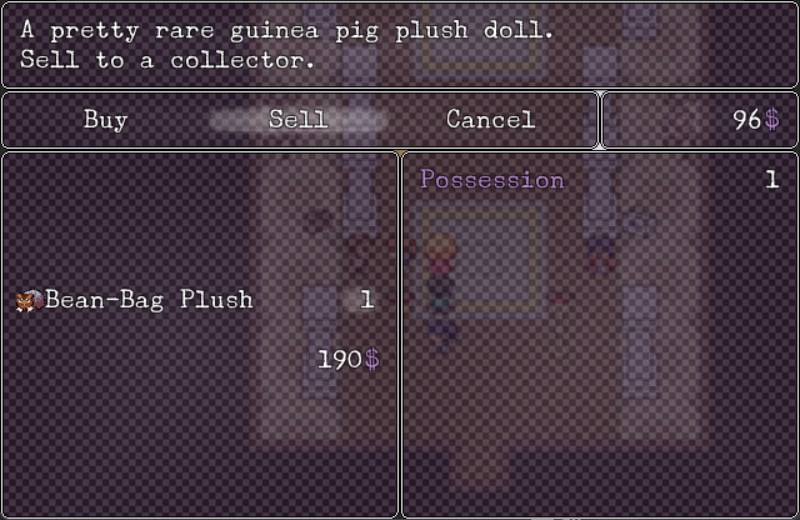
Before we move on, let's pay one last visit to the healer and collector.
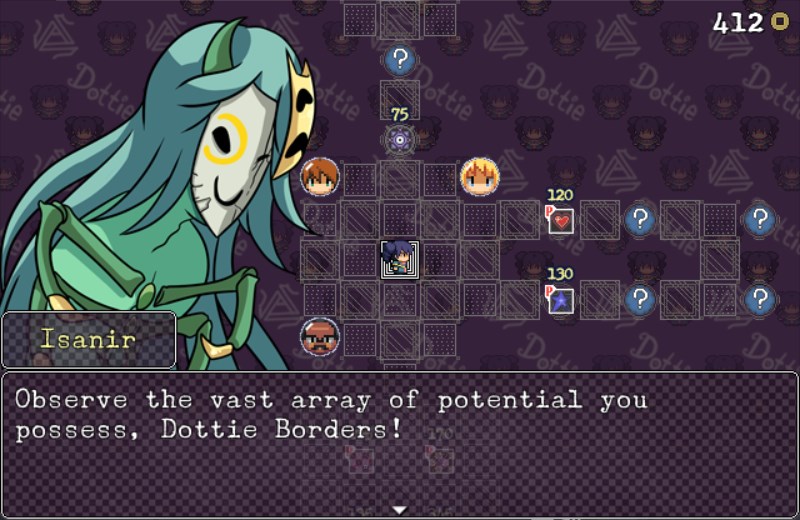
Oh, and now that Dottie's a full-fledged party member, she can access the skill space like everyone else. While she can learn skills from all three elements, she also has the ability to drain enemies' PSI. She also has more-or-less immediate access to the Breakout attack, which deals Terror-element damage and lowers it's target's defenses.
As for the others:
- Alicia: Aside from
PKLumin Flash, she also has started learning powered up physical moves, such as Power Hit, which lowers an enemy's defense, and Bat Barrage, which hits 4 random targets. Maybe I should have focused on getting those for her earlier, so she could be a more reliable damage dealer - Miriam: Still as damage-focused as ever. Notably has learned Acid Rampage, which damages all enemies and inflicts Corrosion (damage over time).
- Lamar: Gained Moon's Gift, which cures most statuses and defends against them for several turns, and Nocturne, which deals bonus damage to sleeping targets,
A balcony's an excellent place for a final showdown, isn't it? It's also a good place for Dottie to pull that Sailor Moon nonsense again.
First phase: he regularly switches from resisting physical attacks to resisting magic attacks.
Second phase: he turns into this enormous, bloated, unearthly thing, accompanied by the appropriately named Aggressor and Inflictor, who specialize in physical attacks and status effects, respectively. Meanwhile, Brian himself lays into the party with powerful single- and multi-target attacks, seeming to specialize in Rage-element attacks, for some reason. This is the second-longest boss fight in the game so far (the longest being Inez, who took more than 20 minutes to take down), the video above clocking in at 13 minutes.
Of course, defeating him does not mean the end of our quest, as the cultists announce that the
Did you really think that this was the final battle? I'm sure there's still at least one Inner Evocation left unaccounted for.
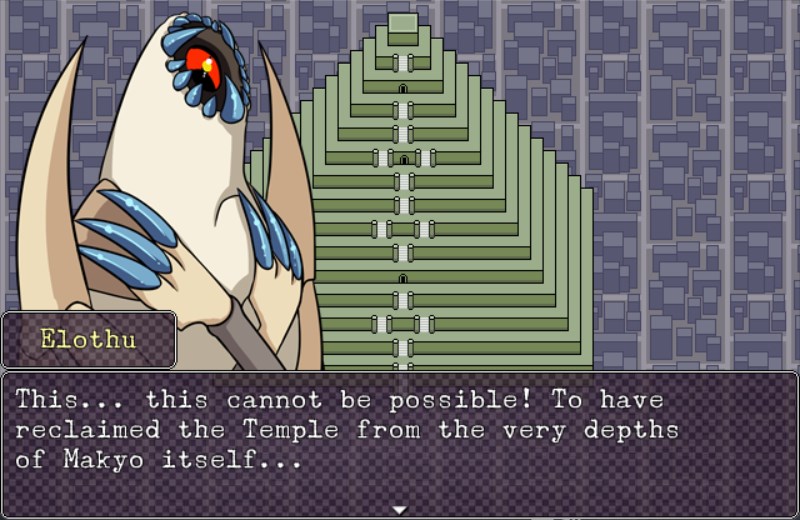
And this is before you take into account that a temple from hell has suddenly popped up out of thin air.
Next up: we explore the Temple of Rebirth, and try to clean up loose ends regarding the Evocations.