The Main Event, Part 3
Mardek was the very first episodic game that I've ever played, so it's not surprising that when I first discovered it, curiosity eventually took over and I started chapter 3 before finishing chapter 2. The fact that when I tried, I was plopped into an unfamiliar dungeon, where I couldn't even control my characters, set me straight. First, I would play the previous chapters first, and second, I would use a browser besides Internet Explorer.

The chapter begins quite far from where either of the first two chapters take place. Instead of his hometown, or the castle right next door to his hometown, we start of in the Sun Temple, which was nowhere to be seen on the world map before.

And since Deugan sacrificed himself at the end of the previous chapter, he won't be accompanying Mardek. Instead, he's accompanied by Donovan and Sharla, two of the other Royal Knights who showed up for the first mission in chapter 2. Neither of them come close to being the physical powerhouse Deugan was, though.
Each of them specializes entirely in one element, Sharla in wind and Donovan in fire, and start out with a basic spell in their respective element. Remember, like in Deliverance, everyone and everything has an elemental attribute. Unfortunately, unlike in chapter 2, where you fought mainly undead foes that were weak to light, the first dungeon alone features enemies with a variety of elemental attributes, so the two of them have rather limited utility. Plus, both of them use spears, which aren't particularly mage-like weapons.
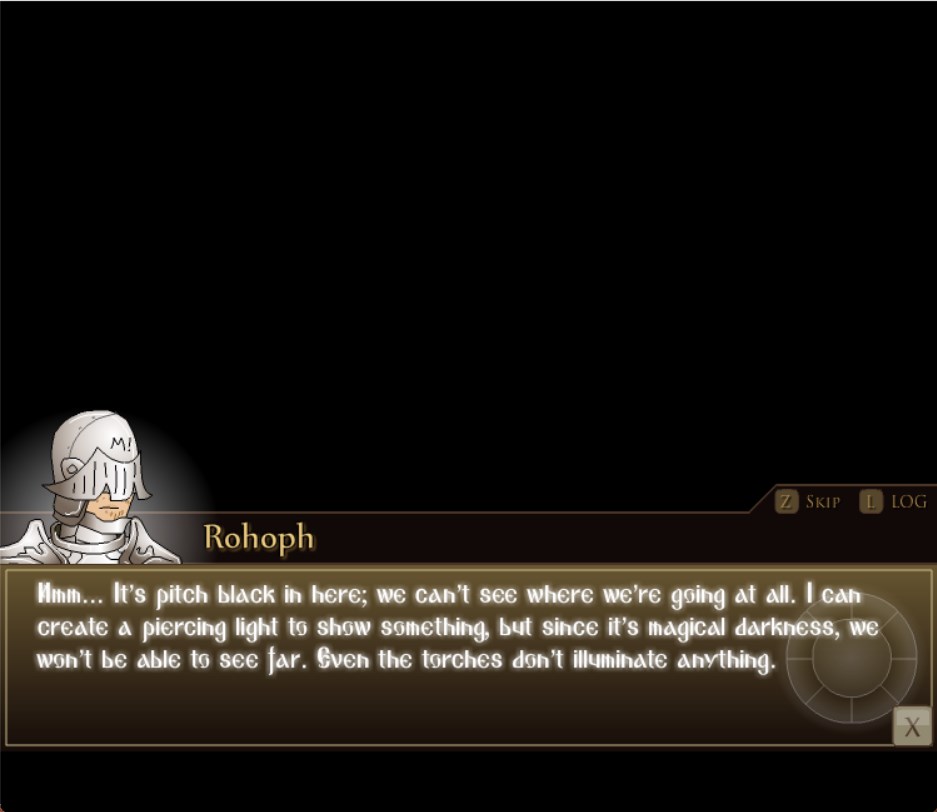
Also, Mardek is now wearing a helmet, to cover his eyes glowing whenever Rohoph speaks through him.
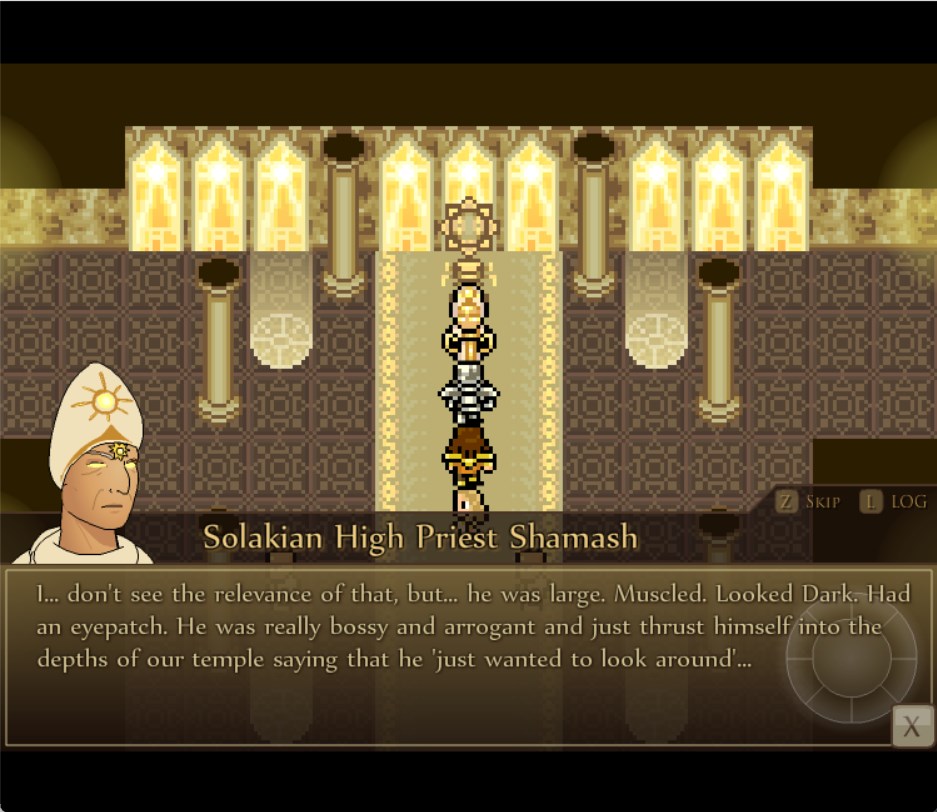
Our first mission is somehow even more generic than in the last chapter. The lower levels of the temple are crawling with monsters, go sort them out. The person responsible appears to be a forceful, violent man who's of the Dark element. Certainly no one we've seen before.
This chapter introduces one new mechanic, switch puzzles! In this dungeon and nearly every dungeon in this chapter, there are seveal doors with colored gems in them. In order to open them, you need to find the gem switch that's the corresponding color.
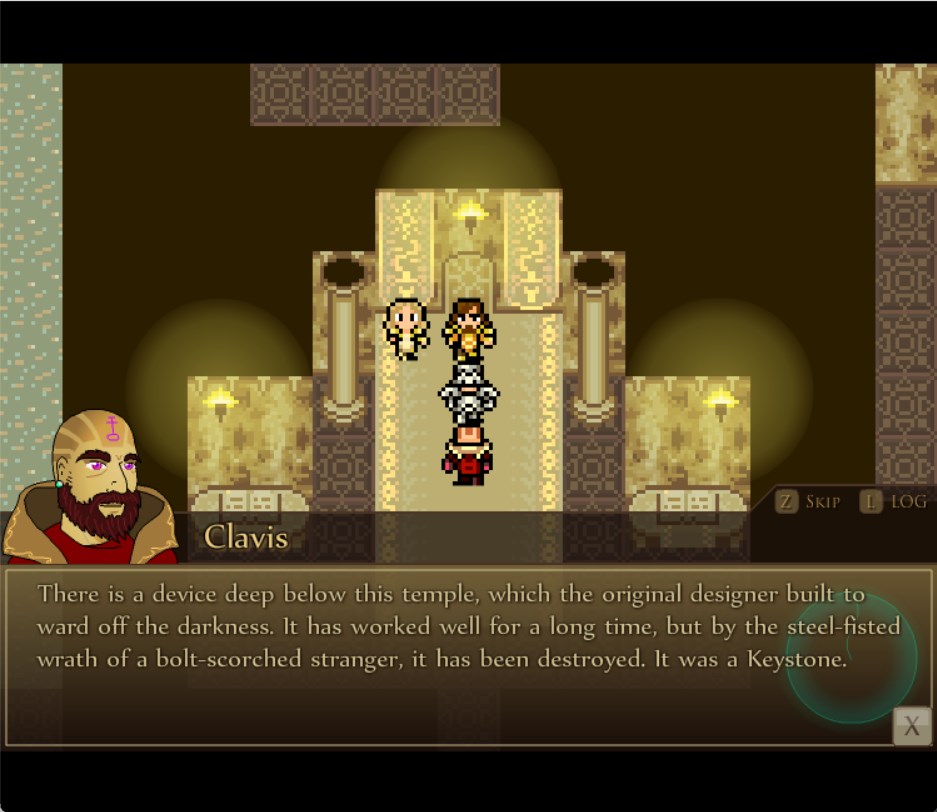
As we explore the temple, we run into some garish-looking old man, who yammers on about balance and the keystones that hold the world together. One of said keystones was the warding stone in the depths of the temple, which was broken by a man who was scarred by a bolt of lightning, in order to disrupt the balance between the temple dedicated to a god of light, and the source of darkness below.
Scarred by a bolt of lightning, huh? Once again, it's probably no one we already know.
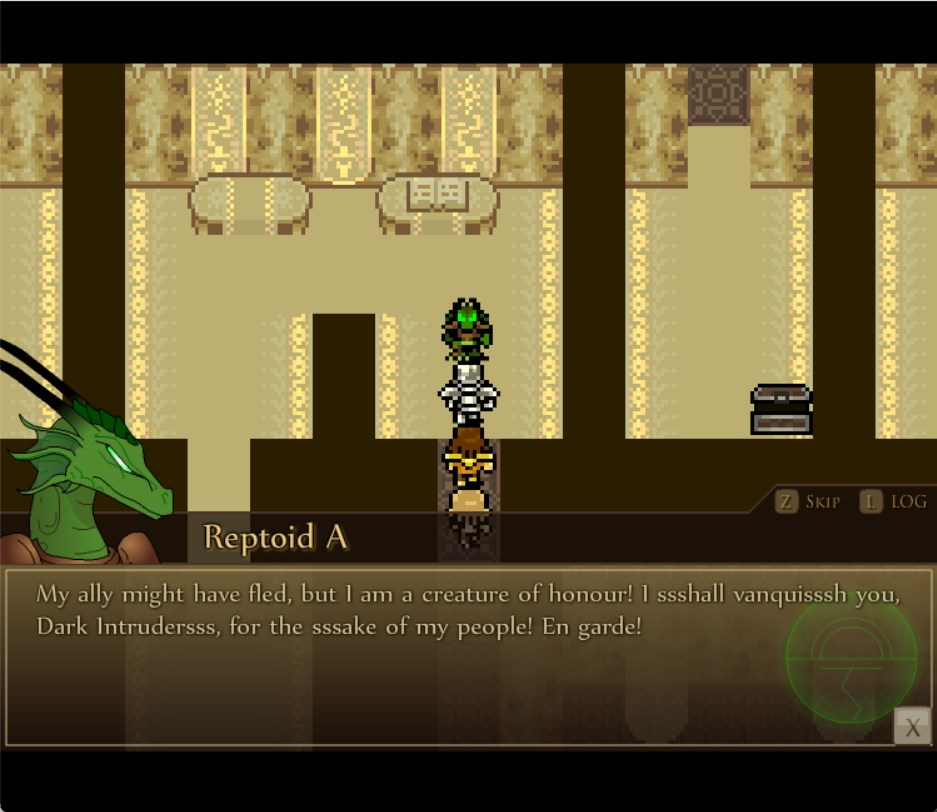
All of a sudden, the party encounters a pack of Reptoids. You know, like what Deliverance had. There was a whole village of them, remember?
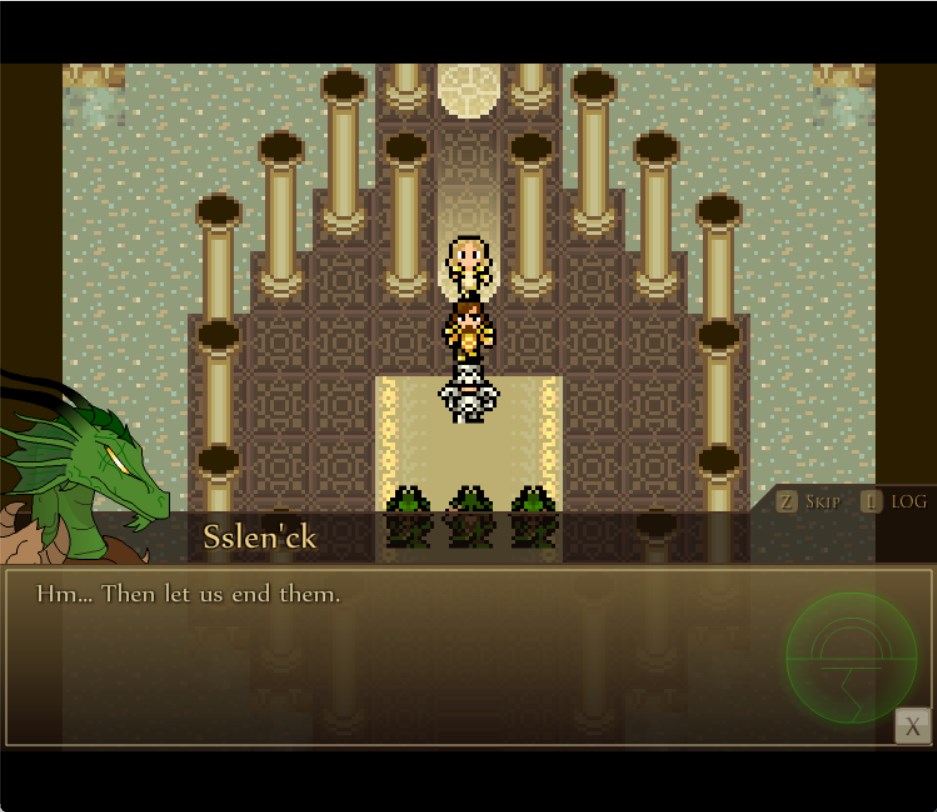
Apparently, they're suffering from the monster infestation as well, and so they, along with their chieftain, attack us believing that we're responsible for it.
Upon defeat, the chieftain retreats to the village of Xantusia, which is right down the nearby flight of stairs. Sure we could replace the warding stone that the old man brought up as so important, but I'm sure it can wait.
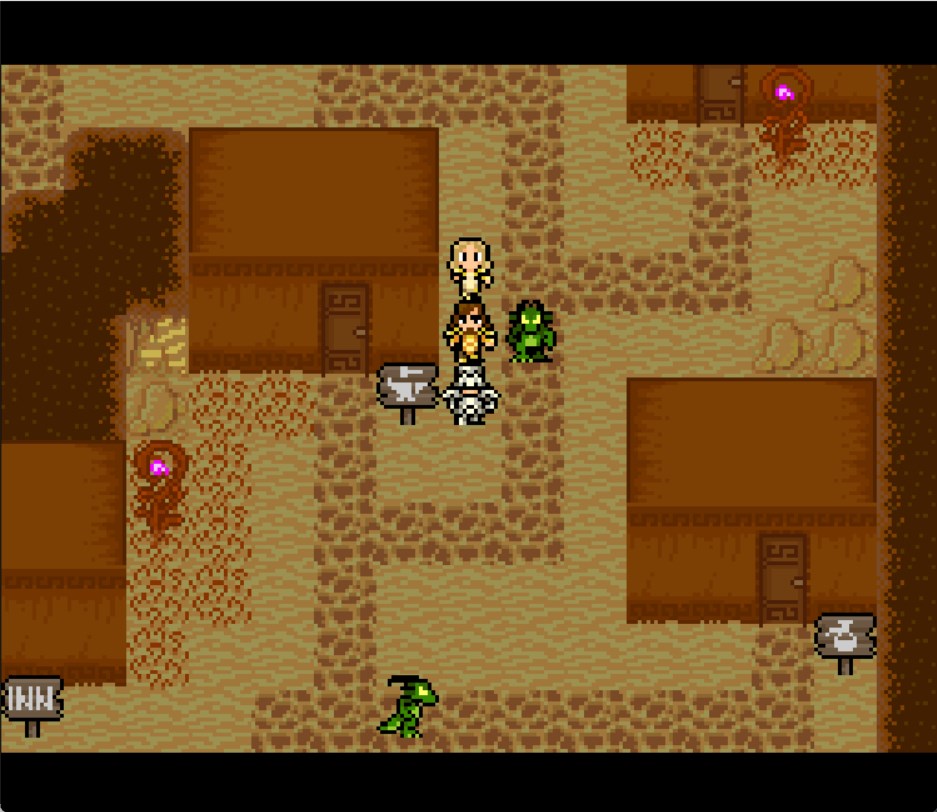
This whole chapter is awfully intent on being Deliverance but better. Swapping out the lava in the underground lizard people's village with sand can't really hide that.
Time to clear up our little inter-species misunderstanding. The chieftain, like us, is on the hunt for the mystery man who broke into the temple. And so he joins us. Hopefully he doesn't bring about a zombie apocalypse like the last one. He's earth-elemental and specializes in physical attacks, just like Deugan.
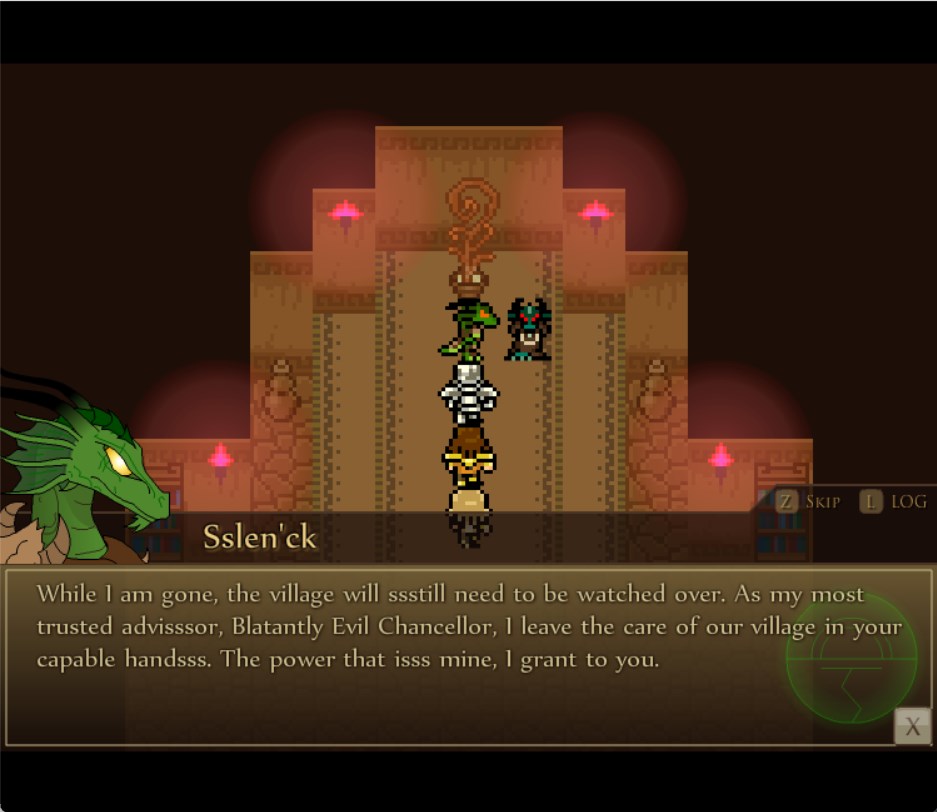
Oh, and in case you're wondering, nothing comes of this Blatantly Evil Chancellor thing, no need to worry.
From there, it's on to the Sandflow Caves to chase after our intruder. It's more of the same: scour the area for switches to unlock more of the dungeon.
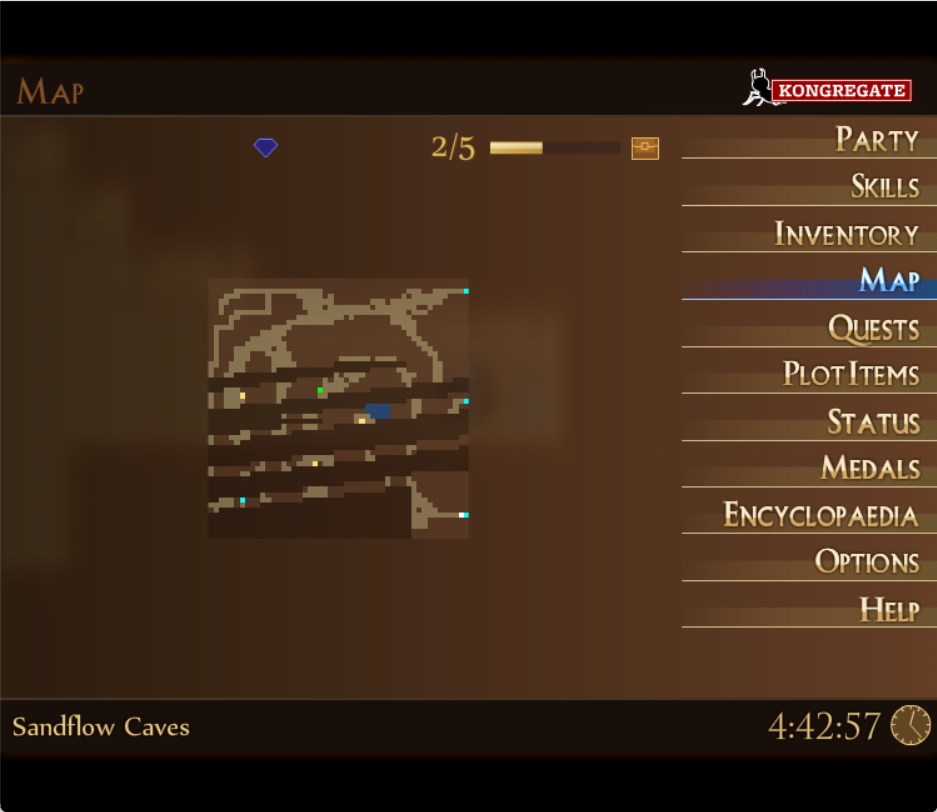
Sometimes when you reload your save, the map data will get glitched up like this.
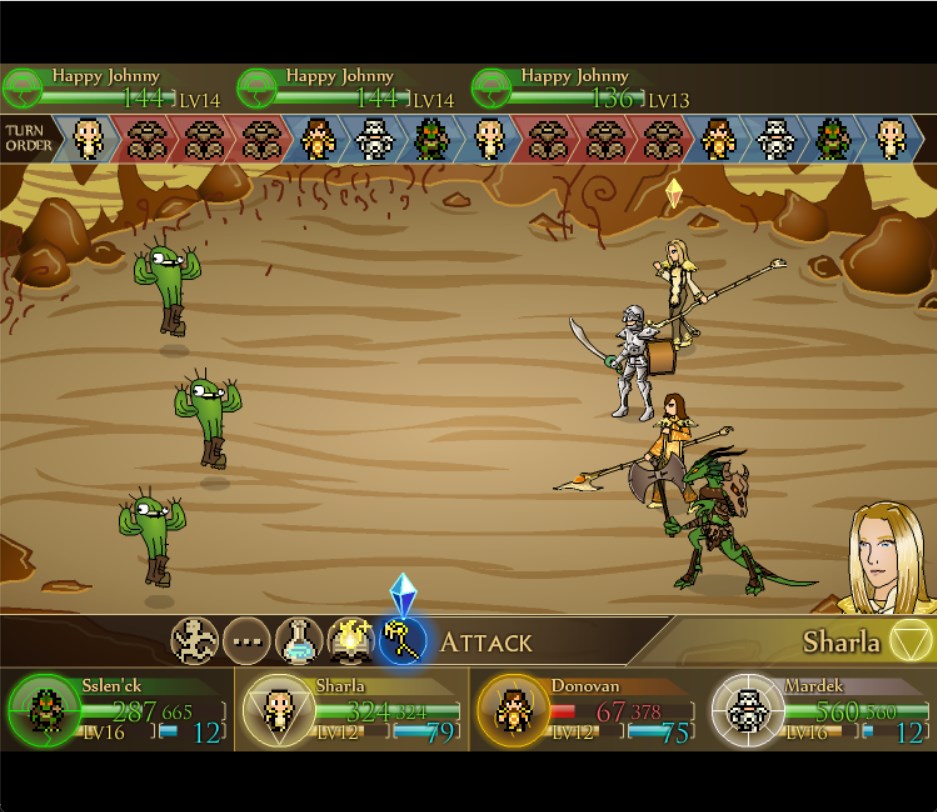
One enemy you can find here is not only an obvious take on Final Fantasy's Cactuars, but is drawn in a completely different style to every other enemy in the game.
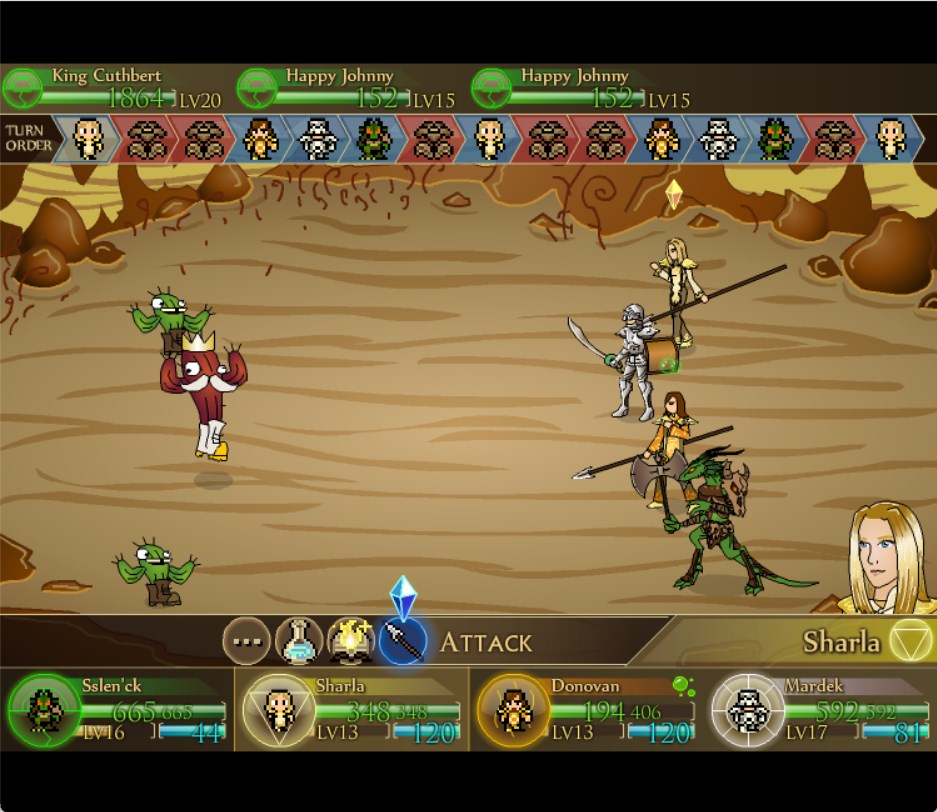
The same goes for the boss of the area, which is the same enemy, but with a crown.
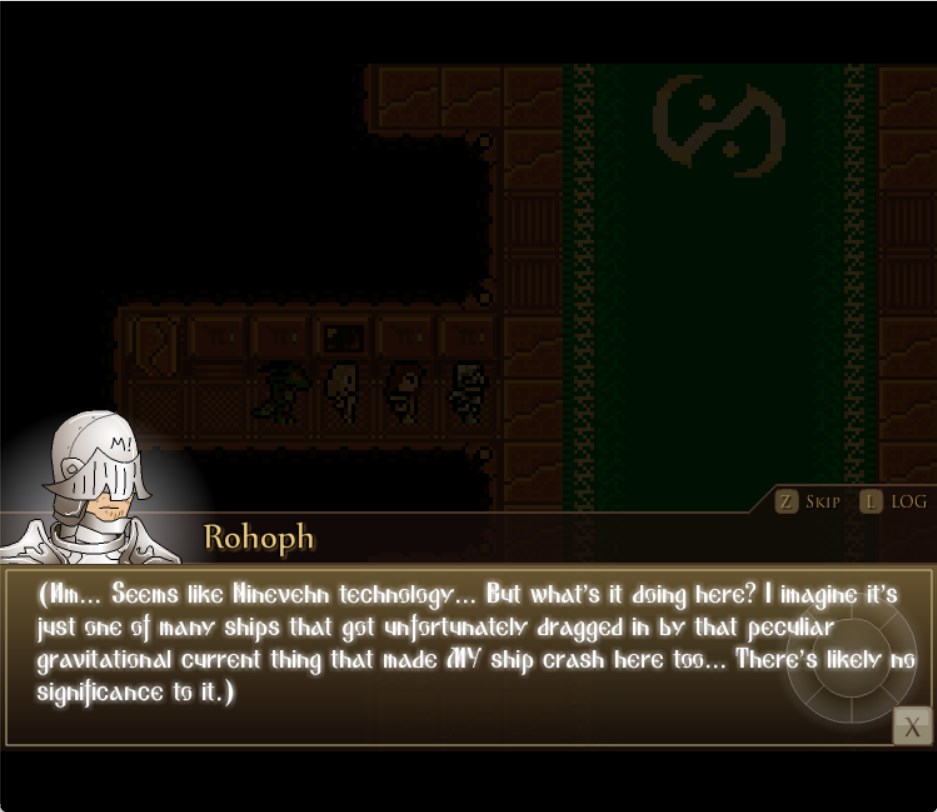
A spaceship? Given that it's buried in a sandy cave, that's buried under a temple to one of Belfan's gods, it's possible that whoever built this arrived well before Rohoph did.
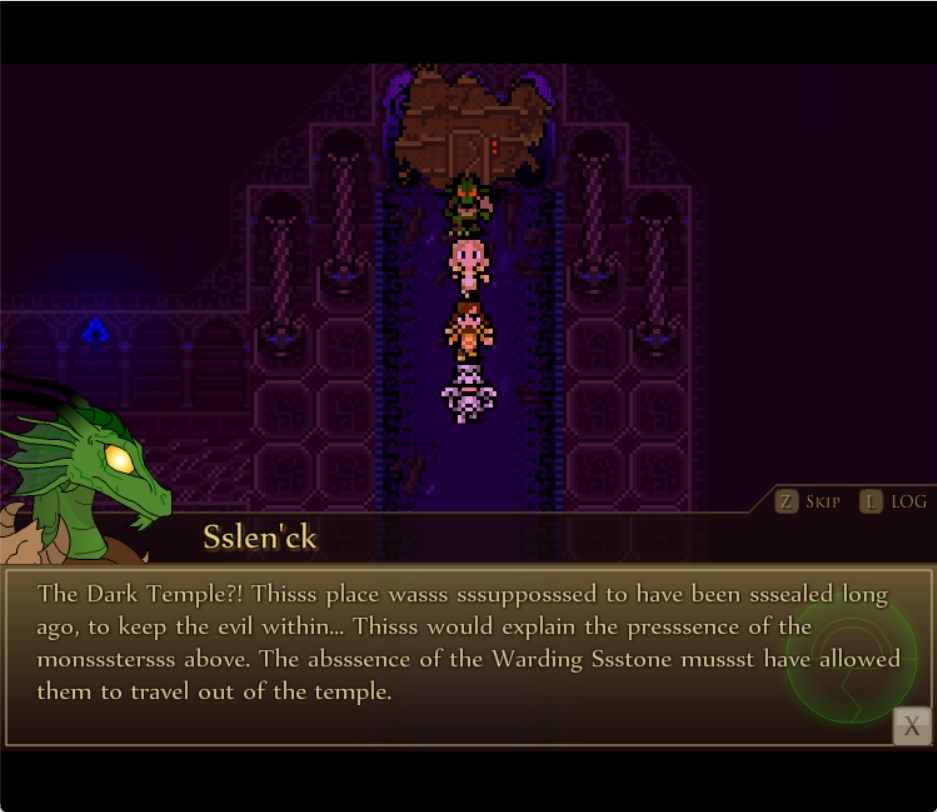
And past him is the Dark Temple. It's been a long walk to here from the starting area, but we're still far from the level of chapter 2's catacombs or Deliverance at its worst.

In the central room of the temple, you find a Miasmal Chalice, which fills up the more monsters you kill inside the temple. You need to take out 100 monsters in order to fill it completely.
True to its name, all of the side corridors in this dungeon are pitch black. Even the automap will be of little help here, so you just fumble around in the dark until you find the switches needed to progress.
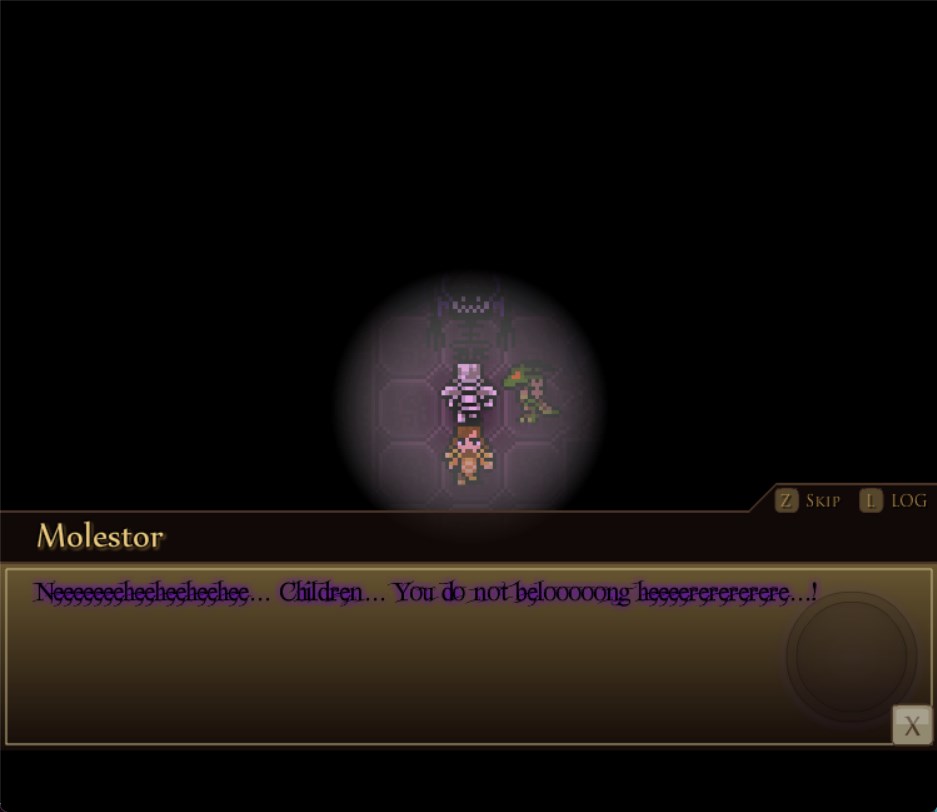
Guarding the switches that open the way to the crystal are...minibosses called Molesters? That call the party children? This game was certainly made in a different time, wasn't it?
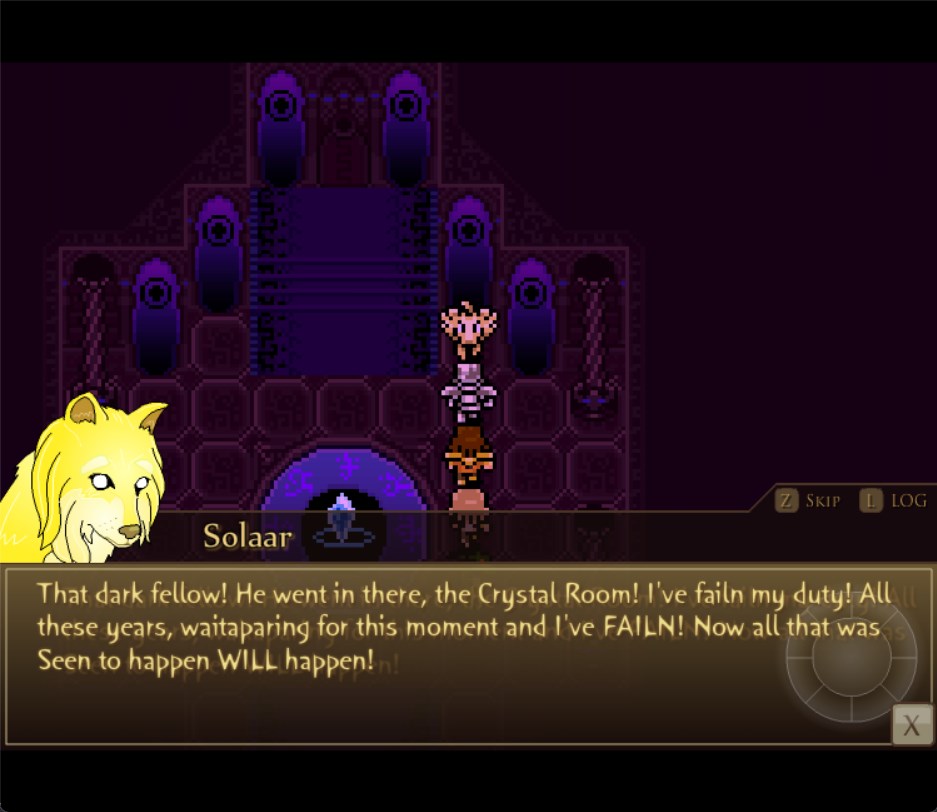
On the way to the crystal room, the party comes across a dog-like creature collapsed on the floor. After using whatever healing spells the party happens to have, the creature comes to, introduces themself as Solaar, and laments their failure to protect the crystal.
If you remember, there was also a canine party member in Deliverance, whom you also met on a long trek to an elemental temple. He, like everything else about Deliverance, was fairly forgettable, so obviously, his counterpart here was given a really irritating speaking quirk! That'll definitely make them stand out!

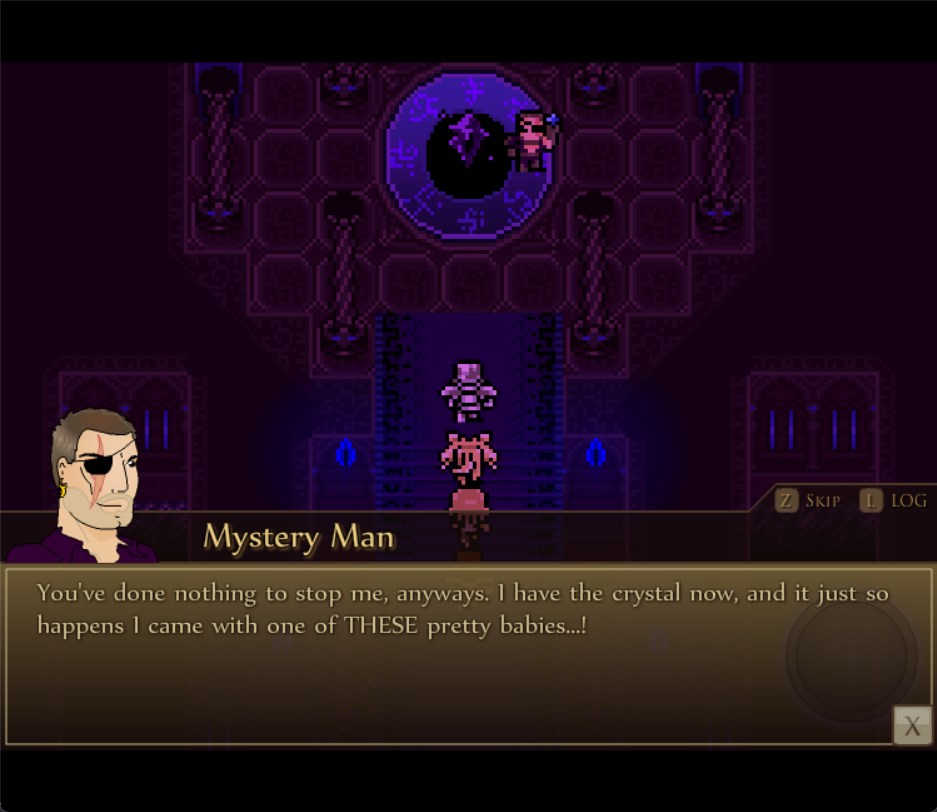
Up ahead is the Dark Crystal...and the intruder the old man was talking about. A self-centered man with stubble and a scar over his eye? Nope, he doesn't look familiar at all!
Here's his theme song. Sounds dreadful, doesn't it.

Boy, has he sure changed since we saw him last. From merely an alpha male douchebag to a less interesting Kefka. I guess it's a good thing he doesn't come anywhere close to being the main villain.
Since I didn't screenshot the boss fight, here's the Mystery Man's battle theme.
As I mentioned before, the relation between the elements in this game is very similar to how it was in Deliverance and Beast Signer. This is the reason I brought Solaar to this battle, as they are light elemental and starts with a light elemental spell, which does a lot of damage even after the boss buffs himself. Plus, our lizard pal's getting to be a bit physically fragile, and this boss mainly uses physical attacks, so keeping him around might be kind of a liability. Sure, Solaar is even more fragile, but that's a fair trade-off when they're easily our most potent damage dealer.
AFter you beat him, he makes off with the crystal anyways. If what the old man was saying about keystones is true, then he might be more of a threat than the game lets on.
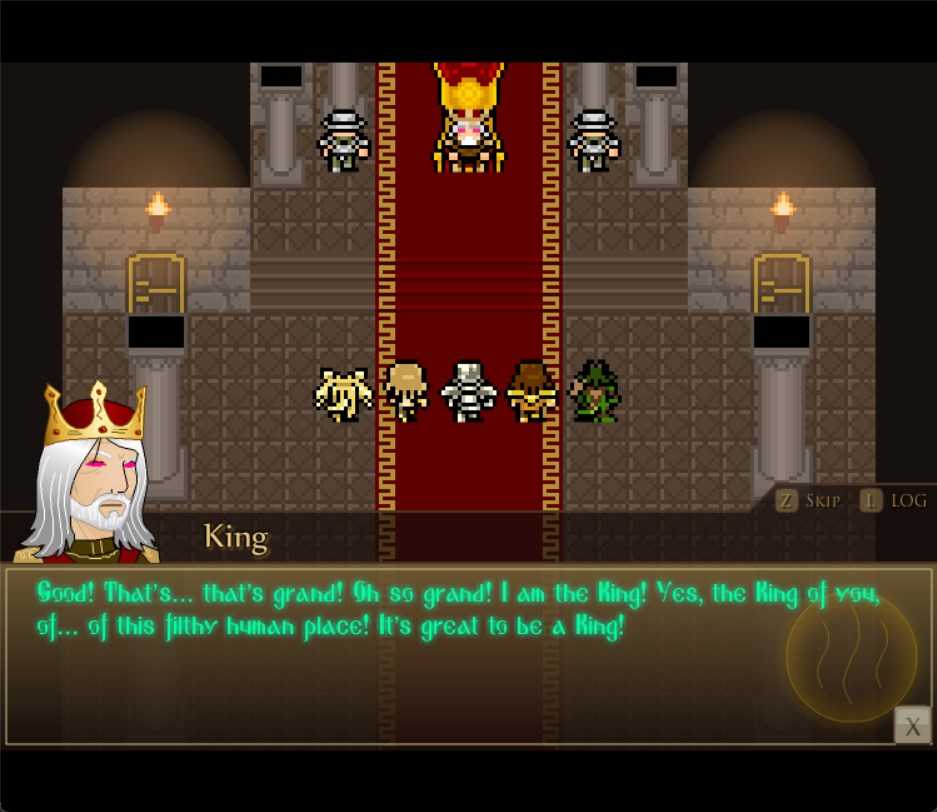
We are immediately transported back to Goznor castle, and meet up with the king, whose eyes glow just like Mardek's did, and speaks in the same font that Rohoph and pals do. Nope, nothing suspicious about him at all!

The clearly not possessed king tasks us with gathering the elemental crystals from Belfan's temples. Nope, he's not even trying to hide the fact that this is a blatant retread of Deliverance.
Sure, the party has their doubts, but I think it's best that we do as he asks. What harm could it possibly do?
This is where I'll stop for now. Up ahead is more party members, more dungeons, more quests, and most horrifying of all, more grinding.